Ah, these sunshiny summer days...blogging just doesn't seem to happen much in the summer.
Trips, family outings, visitors and just relaxing is much higher on the priority list. However, I did want to bring you a few posts of summer. Starting with my oar wall!
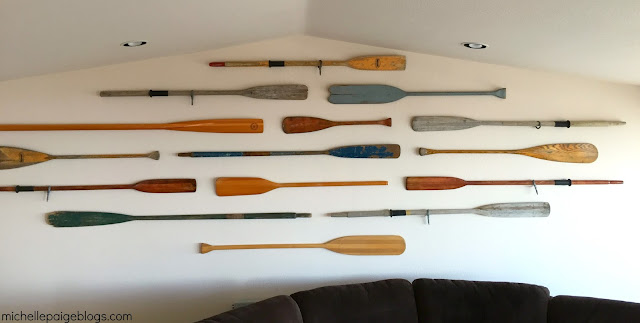
It's a whole wall of oars!
I've been collecting oars for a few years-- just waiting for enough to create my wall. The little antique shops on the island know me by name. Garage sales, junk sales, craft markets have all helped me with my collection.
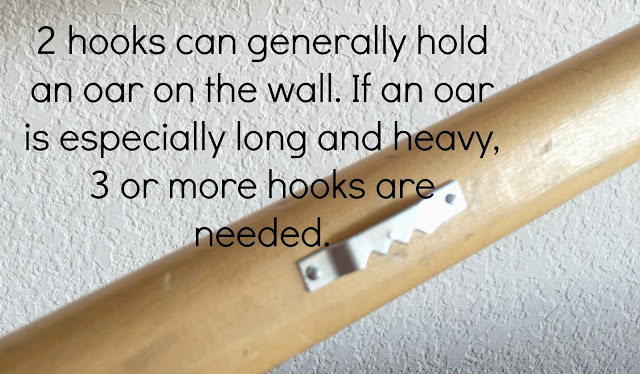
AH (Awesome Husband) helped me. We put one hook on the handle of the oar and another one close to the paddle. If an oar was longer, we used three hooks.
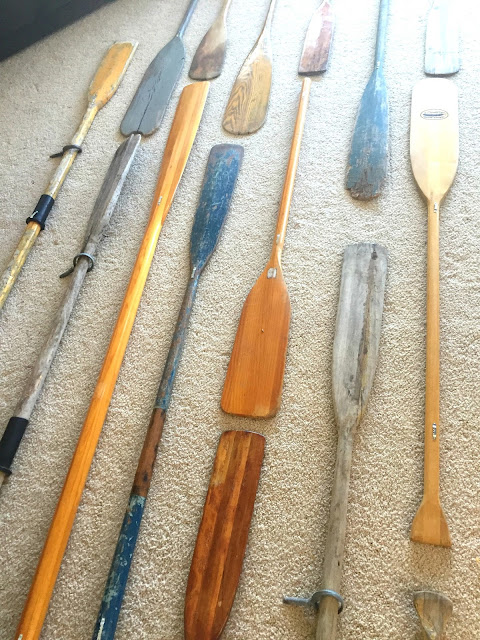
I laid out the pattern I wanted on the floor. Colored oars next to wood oars. Older ones next to newer ones, etc. Mixing up the directions of the oars added to the charm.
We measured the wall and determined how many rows we could create with spacing in between. We couldn't even come close to being exact in our measurements, due to each oar varying in widths and heights, but we did our best. We pounded nails into the wall, hanging one oar at a time, measuring AND eyeballing as we went.
And maybe I'll start a different collection for the other blank wall?
Hmm...mermaids? Haha!
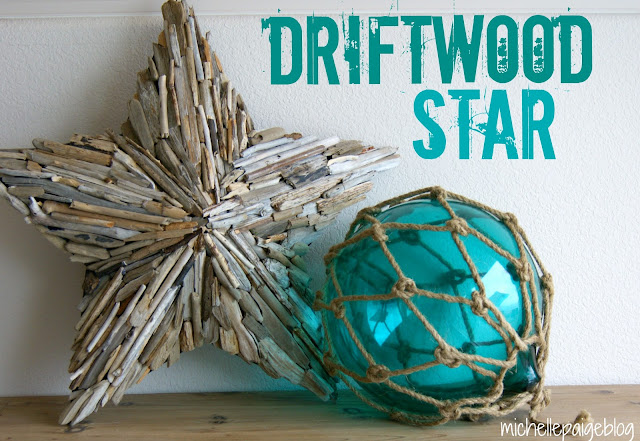
If you follow me on Instagram you saw me working on another summer project...a driftwood star.
Click here to make your own...it's so easy!
Happy Summer!

It's a whole wall of oars!
I've been collecting oars for a few years-- just waiting for enough to create my wall. The little antique shops on the island know me by name. Garage sales, junk sales, craft markets have all helped me with my collection.
Yes, I know this doesn't work well in every home, but in a beach home...I love it!
This post contains affiliate links to help you locate products.
This post contains affiliate links to help you locate products.
Obviously, the first step in creating an oar wall is collecting oars. Mine were all different. Some vintage, some just old. Some in terrible shape, others looked pretty good. Some long, others short. I loved the ones with old chipped paint and the ones with the oar locks still on them. I did end up staining a few so I could get a darker color on my cream wall.
The next step was figuring out how to hang them.
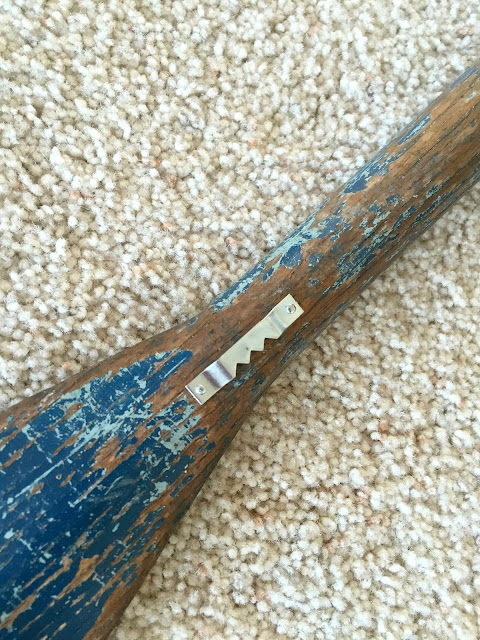
We used picture frame hooks on the back of each oar. The hooks are so easy to nail into the wood oars and can safely hold a bit of weight.
We used picture frame hooks on the back of each oar. The hooks are so easy to nail into the wood oars and can safely hold a bit of weight.
AH (Awesome Husband) helped me. We put one hook on the handle of the oar and another one close to the paddle. If an oar was longer, we used three hooks.
I laid out the pattern I wanted on the floor. Colored oars next to wood oars. Older ones next to newer ones, etc. Mixing up the directions of the oars added to the charm.
We measured the wall and determined how many rows we could create with spacing in between. We couldn't even come close to being exact in our measurements, due to each oar varying in widths and heights, but we did our best. We pounded nails into the wall, hanging one oar at a time, measuring AND eyeballing as we went.
Now, here's the hardest part...stopping! There's a part of me that wants to keep collecting oars and adding more and more...but yet, it's important to call it done and be done and be happy.
And maybe I'll start a different collection for the other blank wall?
Hmm...mermaids? Haha!
If you follow me on Instagram you saw me working on another summer project...a driftwood star.
Click here to make your own...it's so easy!

Happy Summer!

 CONTINUE READING


