twitter facebook instagram bloglovin google plus pinterest youtube

Saturday


Make Your Own Bat Necklaces

BATS!!  Have I told you about the time our family was deep in the humid Mexican jungle of Cancun, when our rugged tour guide led us into a bat cave?  No?  Hmm, I wonder why this story wasn't on the top of the list to share?!
We had just had an incredible time ATVing (is that a word?) through the jungle trails while a huge rainstorm passed over, that left everyone covered in mud. Off the ATV's, it was time for our hike and ziplines, so we took off on a trail covered in mud from head to toe. A few minutes in, our guide announces that we'll be going in a bat cave.  My teenage son perked up, hoping this was Batman's Bat Cave, but he knew quite well it wasn't.  No, this was a real bat cave.  You know, with real bats. Rabid biting bats!  I mean really, why would anyone ever want to go into that kind of bat cave?  The guide didn't give anyone the option to turn around, so our group marched right into the dark cave and huddled close. The guide shined his light at a small pool of water and we saw a few flying things, then he shined the light straight up.  For a minute, it looked like the cave was moving, but it was actually thousands of bats hanging on the ceiling of the cave!  Thousands!  Can you even imagine?  I took one look and decided, that was one look TOO many.  Just recalling this memory is making my hair stand straight up!  I was freaked, to say the least!  Later, after the ziplines, it was time to swim in this 'special' cave water.  Nope, I couldn't handle that.  I immediately decided to become very, very interested in taking pictures, instead of swimming.  I don't care that bats don't swim, no way was I swimming in a cave!  Besides, I knew I could run faster than I could swim! Do you blame me?

The only time I can tolerate bats is when they're cute, little bats--that don't really look like bats at all...and they don't fly!  I made these fun 'cute bat' necklaces for my nieces and nephews.
Make Your Own Bat Necklaces

**This post contains affiliate links to help you locate products.

This craft first took shape when I found these little storage containers at the Dollar Store.  You can buy googly eyes at the Dollar Store, too.

Make Your Own Bat Necklaces

Supplies needed to make Bat Necklaces:
-small storage containers (from the Dollar Store or online- click here.)
-googly eyes
-hot glue
-black cording, ribbon or string
-black fun foam

-Sharpie -pencil -scissors -Crop-o-dile -M&M's (or other small candies) -plastic bat rings or another small toy.

Make Your Own Bat Necklaces

First, take the lid off of the container and make a dot in the center.
Make Your Own Bat Necklaces

Using a Cropodile tool, punch a hole over the dot. (This is my favorite crafting tool, ever! It punches holes through anything!)

Make Your Own Bat Necklaces

Using ribbon, string or black cording, measure out about 30-33 inches.
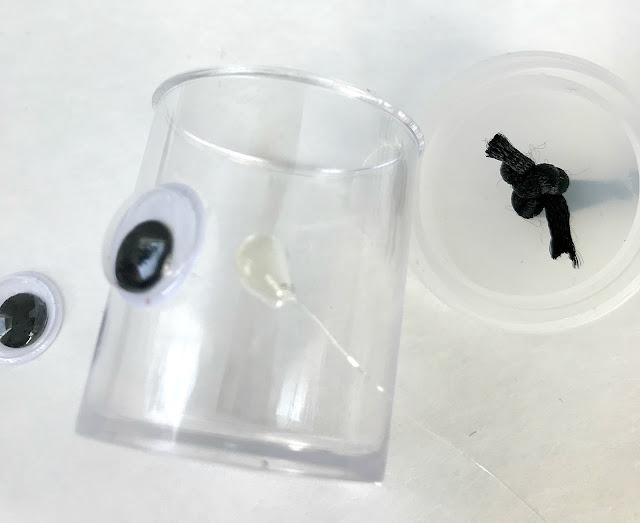
Thread both ends into the hole of the lid, and tie a knot.


Make Your Own Bat Necklaces

Tie a few knots to keep the cording from pulling through. I tied three knots right on top of each other.
Trim the ends.
Make Your Own Bat Necklaces

Using a hot glue gun, glue two googly eyes to the container.
Make Your Own Bat Necklaces

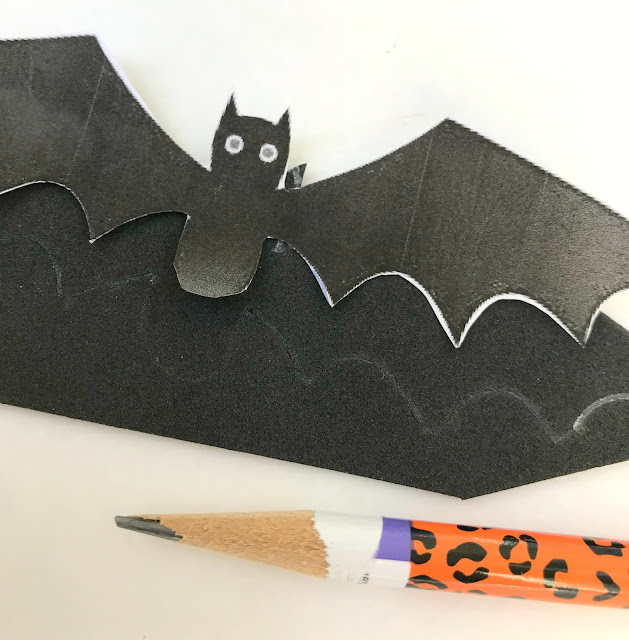
Download the bat template and print on white paper.
Cut out one bat to use as a pattern.
Click here to print out your own bat template.

Make Your Own Bat Necklaces

Trace bat pattern onto black fun foam and cut it out.
Make Your Own Bat Necklaces


Hot glue the body of the foam bat and stick it onto the back of the container.

Make Your Own Bat Necklaces

Make Your Own Bat Necklaces

Fill container with a plastic bat ring and M&M's.

Make Your Own Bat Necklaces


 Snap lid back into place and give away.
Make Your Own Bat Necklaces


Make Your Own Bat Necklaces


Ok, now tell me...this really is a 'cute bat' isn't it?
Happy Halloween!


Linking up to: BFF Link Party


 photo arrow.png CONTINUE READING

Friday


The easiest way to make sweater pumpkins with no sewing and no glue.

I grew up with a big orange cat (think Garfield-looking) who was named, Pumpkin. I've seen many pictures of myself as a baby, with Pumpkin the cat laying beside me. Pumpkin loved me and I loved him. Pumpkin would choose my bed to sleep on every night. He would snuggle against my leg and purr as I slept. Pumpkin would come to me first, to be petted and brushed. Pumpkin wasn't allowed on the couch, so as I sat on the couch, he would plop his body on my feet--just hoping I would scoop him up and put him in my lap. Pumpkin and I were buds. I remember being so sad when we finally had to put Pumpkin to sleep, when I was in middle school. Oh, Pumpkin, I miss you!  Hold on, let me grab a tissue.
I find it so interesting that all these childhood memories came back to me when I started crafting up these sweater pumpkins. I wonder if the soft orange sweater triggered my memory?  Not sure.  Whew!  I didn't mean to get all emotional over a pumpkin craft.

Let's move on, shall we?
The easiest way to make sweater pumpkins with no sewing and no glue.

Oh yes, sweater pumpkins.  Soft, cute and did I mention EASY! I only do easy crafts and this one totally qualifies.
Just follow the steps and you'll be crafting up your own sweater pumpkins in no time...oh, I should mention, they're addicting!  Make one, and you won't be able to stop!  They're so fun!

**If you're more a video watcher, instead of a read the directions type, scroll down for the video link.


The easiest way to make sweater pumpkins with no sewing and no glue.

Step 1: Find an old sweater or buy one at a thrift store. Solid colors are the easiest. Soft and fluffy ones are my favorite!
Step 2: Using a Sharpie, trace around a paper plate (or anything round) directly on the sweater. Any size works, I used a 12" paper plate for my pumpkins. Feel free to go smaller or bigger.
Step 3: Cut out the circle.

The easiest way to make sweater pumpkins with no sewing and no glue.

Step 4: Pour about 1/4 cup of beans onto the center of the sweater circle. The beans help weigh down your pumpkin and sit right. (You could use other colors of beans as well.)
Step 5: Add stuffing on top of the beans. I used two full handfuls. Use as much as you can for poufy pumpkins.
Step 6: Gather the sides of the circle around the stuffing, stretching the sweater into a round ball, holding the ends in your hand.

The easiest way to make sweater pumpkins with no sewing and no glue.

Step 7:  Hold the ends tightly, checking to see that all the edges are pulled up.
Step 8:  Tie a rubber band tightly to hold the shape.
Step 9:  Cut 4 pieces of twine that can extend all the way around both sides of the pumpkin. Lay the pieces out like the image in picture #9.

The easiest way to make sweater pumpkins with no sewing and no glue.

Step 10:  Place pumpkin on top of the cut twine pieces.
Step 11:  Gather the twine pieces up along the sides of the pumpkin, holding them in your hands.
Step 12:  Secure the twine pieces with a rubber band.  This goes right over the first rubber band.

The easiest way to make sweater pumpkins with no sewing and no glue.

Step 13:  Adjust the twine pieces evenly and pull them tightly to make spines around the pumpkin.  Tie another rubber band around the top edges to keep the pieces out of your way.
Step 14:  Tie on twine, keeping it attached to the roll. You can also hold back to two long pieces of twine, to make vines.
Step 15:  Tightly, wrap the twine around and around the sweater fabric pieces, creating a stem.

The easiest way to make sweater pumpkins with no sewing and no glue.

Step 16: Pull tightly as you wrap covering up the two rubber bands.
Step 17:  When stem is the length you like, tie off tightly and trim the excess material.
Step 18:  Trim evenly to make a flat top to your stem.
The easiest way to make sweater pumpkins with no sewing and no glue.

(Optional) I know I told you no glue, I sort of stretched the truth ...but you don't HAVE to do this step!
Step 19:  Use glue or Mod Podge to curl your vines.
Step 20:  Rub glue over the twine to be curled.
Step 21:  Curl the gluey twine around a Sharpie marker and hold until it takes shape.

The easiest way to make sweater pumpkins with no sewing and no glue.

Step 22:  Release twine from Sharpie. Re-curl if needed.
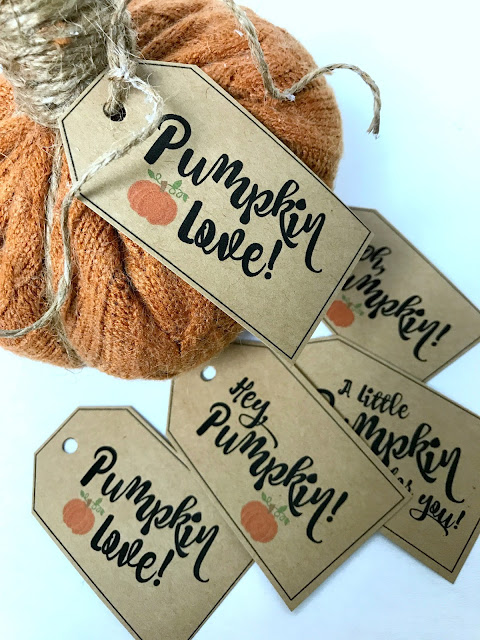
Step 23:  (Optional) Print and tie on a Pumpkin tag.
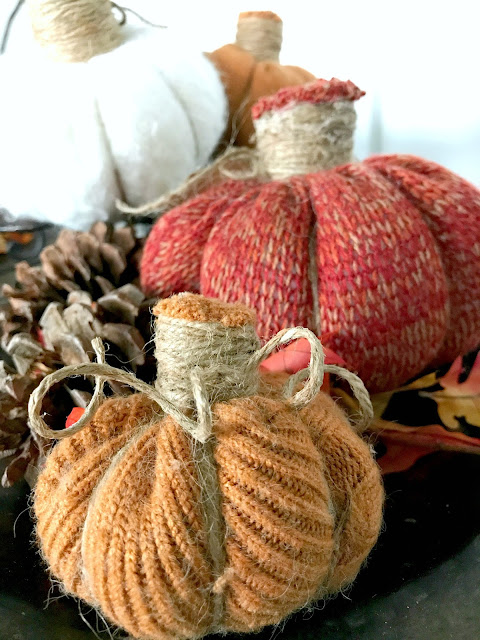
Step 24:  Give away pumpkin or keep for yourself and enjoy!


The easiest way to make sweater pumpkins with no sewing and no glue.

 Click here to print your own pumpkin tags. 
I printed my tags on kraft cardstock.  They could be printed on white cardstock as well.


The easiest way to make sweater pumpkins with no sewing and no glue.

Try making all different sizes!  Have fun!
I'd love to see how your sweater pumpkins turn out. Drop me a note or a picture.

VIDEO**To watch a video on how I made these, click here. 
The easiest way to make sweater pumpkins with no sewing and no glue.


Want another simple pumpkin idea?
Try these Pumpkin Placecard Holders made from Dollar Store supplies.


Or how about these sewn up paper sack leaves?


 photo arrow.png CONTINUE READING

Wednesday


Fall snack mixes to make and give.

We've just returned from visiting friends in Albuquerque, New Mexico. (No matter how many times I try to spell Albuquerque, I keep spelling it wrong!) We had an amazing whirlwind of a trip and we even spent some time at the Hot Air Balloon Fiesta!  What a treat!  I couldn't believe all the gorgeous hot air balloons. The colors and sights were out of this world! I could've stayed the whole week just to watch them all! The beauty of the balloons was mesmerizing! Can you even believe these shots were taken from my phone!

Albuquerque Hot Air Balloon Fiesta!


We stayed in our friends' beautifully decorated Southwestern home. My friend LOVES to decorate for every season! Bins and bins of seasonal decor line their enormous RV garage. Their home was decked out in everything fall and autumn. Pumpkins, squash, gourds, hay bales, scarecrows, etc. etc. It was over the top! She even had fall leaf salt and pepper shakers and pumpkin shaped place mats!
One thing that my husband and I noticed was the snack mixes she had out while we were there. They were displayed in pumpkin shaped pottery and left out the entire week-end on the counter. Her mixes were simple combinations of spicy nuts
(everything is spicy in New Mexico) and candy corn. It was the perfect thing to leave out for guests. If someone needs a snack, it's there...and they don't even have to ask or snoop around the kitchen.
I should tell you that we were constantly eating amazing (spicy) delicious food all week-end, so we really didn't need the snack mixes, but nonetheless it got me thinking on how I can be a better hostess when guests stay with us.  And we just happen to have guests staying with us this week-end, so I'll be whipping up a few of these mixes.  Take a look.


I'll start with our family's favorite mix...It really is soooo good! I'd like to blame this mix for my tight fitting pants!
Everyone always asks for the recipe.

Autumn Treat Mix

Autumn Candy Treat


Let's go next to this mix that I'm trying tonight-- as soon as I run out and get the ingredients. AH goes crazy over cinnamon and sugar, so I know he'll die when I make this!
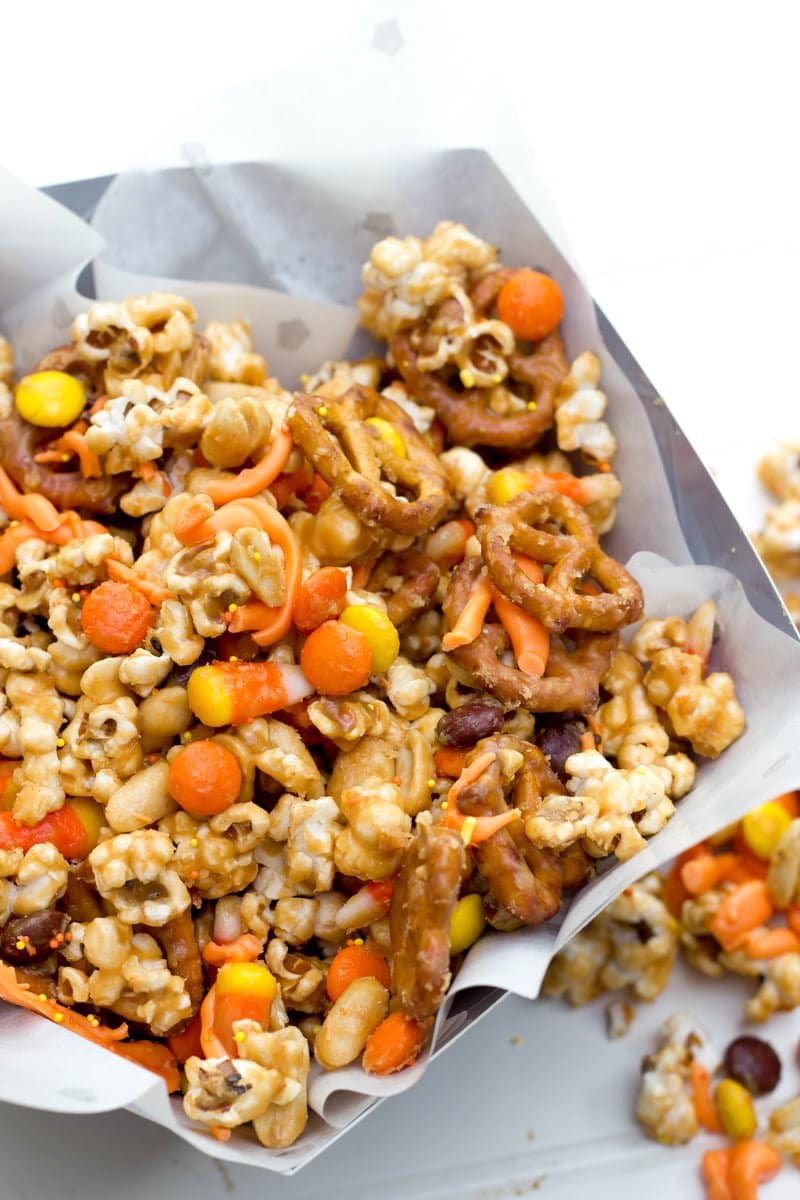
Caramel Churro Chex Mix


Caramel Churro Chex Mix Image


Do you like peanut butter, chocolate and popcorn together? I do! This mix has my name written all over it!


Monster Munch Halloween Party Mix


Just 5 minutes to whip up this sticky mix. It sticks together with corn syrup, butter and spices. Mmm!
5 Minute Pumpkin Spice Chex Mix

5-Minute Pumpkin Spice Chex Mix - Two kinds of Chex, peanuts, pretzels, dried cranberries, and candy corn! Dangerously fast, super easy, and SO.CRAZY.GOOD!!


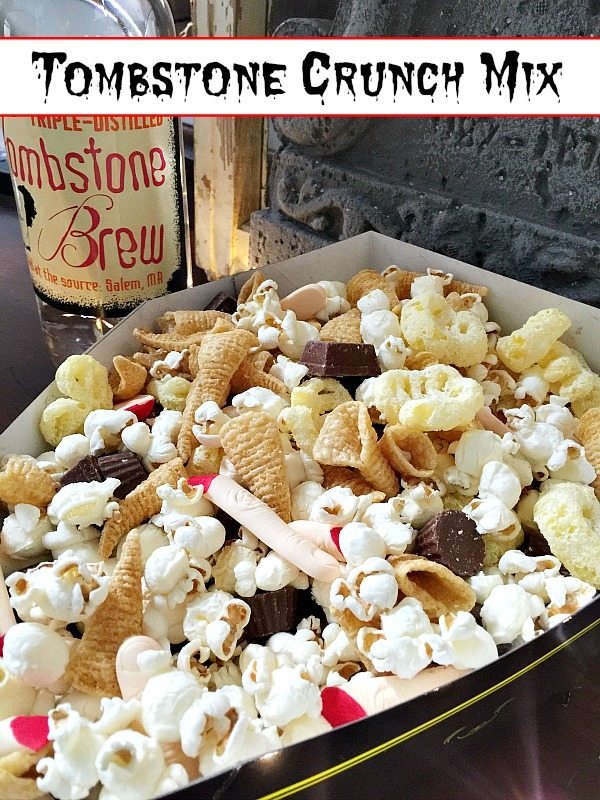
Check out the severed fingers in this one---creepy!
Tombstone Crunch Mix Halloween Recipe

Halloween Recipe for Tombstone Crunch Recipe


This mix is full of crunch and spice as well as sweet and salt.
Pumpkin Spice Mix

Pumpkin Spice Snack Mix perfect for fall!


Now, this mix scares me more than the severed finger one...I'd probably start eating and never stop!  It uses bacon fat popcorn?!  Is there really such a thing?  Oh my!
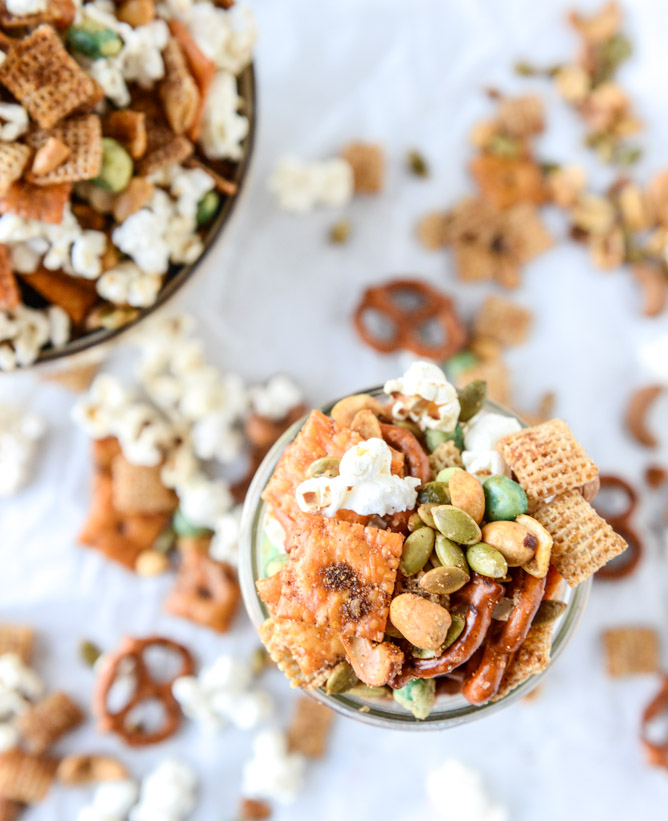
Sweet and Spicy Homemade Mix

sweet + savory homemade snack mix I howsweeteats.com


And of course I needed to add in a few healthy mix ideas!

5 Minute Fall Trail Mix (Paleo & Vegan)
Doesn't this look good?


Customizable Five-Minute Fall Trail Mix (Paleo, Vegan)


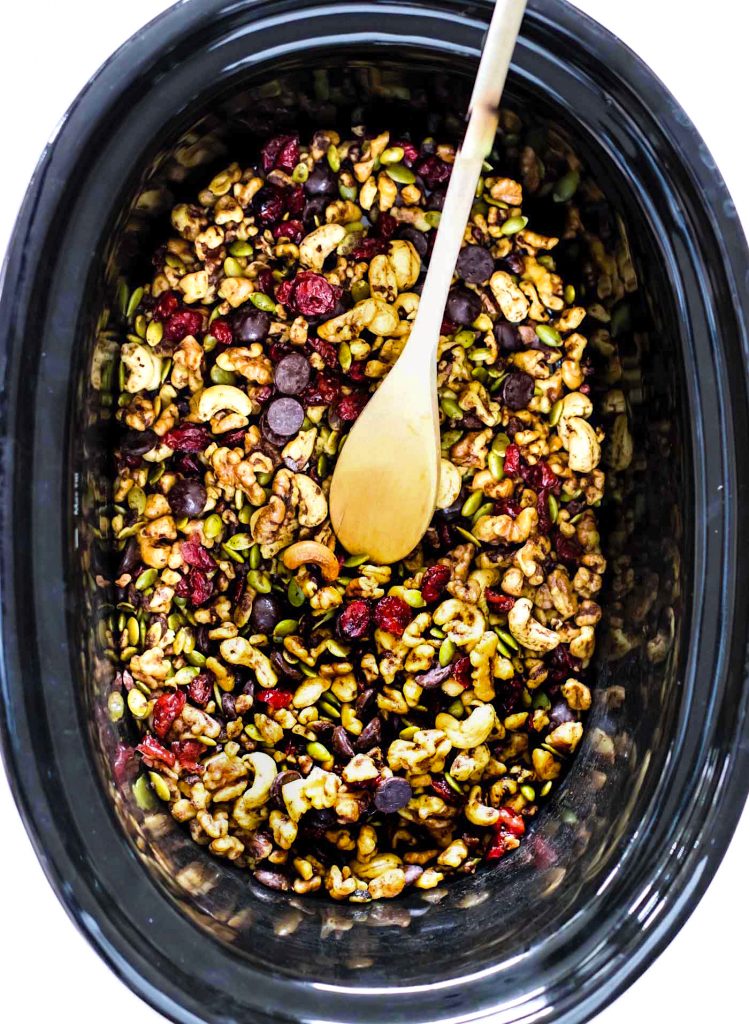
This one cooks in a Crockpot for 90 min.  Can you even imagine how good it smells?
Slow Cooker Paleo Pumpkin Spice Trail Mix

A pumpkin spice trail mix easy to make in slow cooker and a great Holiday gift! A paleo and vegan trail mix with dark chocolate, cranberries, nuts, spices!


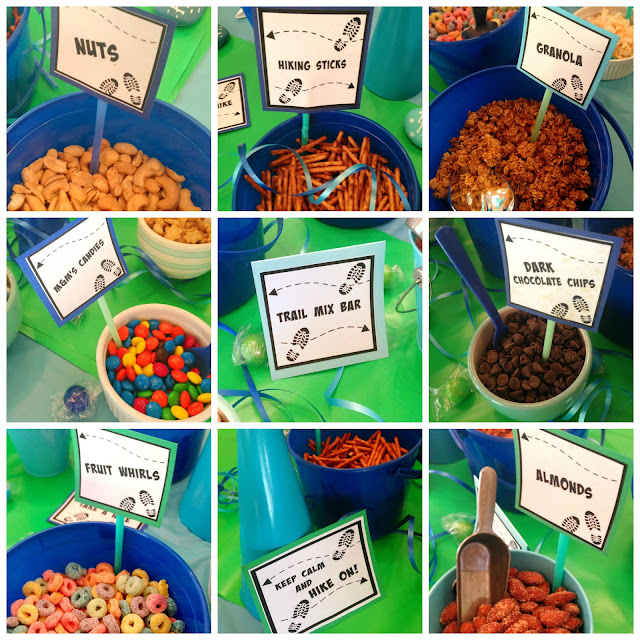
And don't forget that you can always set up a 'Make Your Own Trail Mix Bar'.  All ingredients are laid out and everyone makes their own mix. We did this at my mother-in-law's party a few years back. It was a HUGE hit!  Take a look.
Hiking Party with make your own trail mix


Hiking Party- Trail Mix Bar-- Make your own!


Happy 'Mixing'!

 
 photo arrow.png CONTINUE READING

Friday


Package up apples, caramel and toppings to give as gifts.


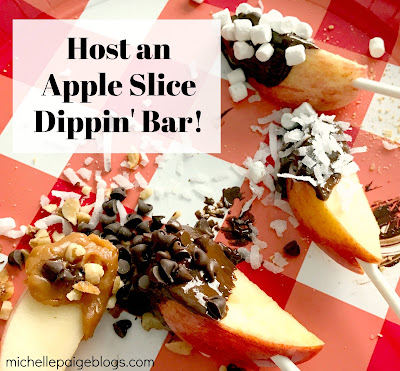
After the family and all our guests fell in love with our Apple Dipping Dessert Bar, click here if you missed that post.  I just had to make a 'to-go' kit!  I already had all the ingredients.
Fresh apples, a tub of caramel and little individual cups of toppings.
Mmmm!


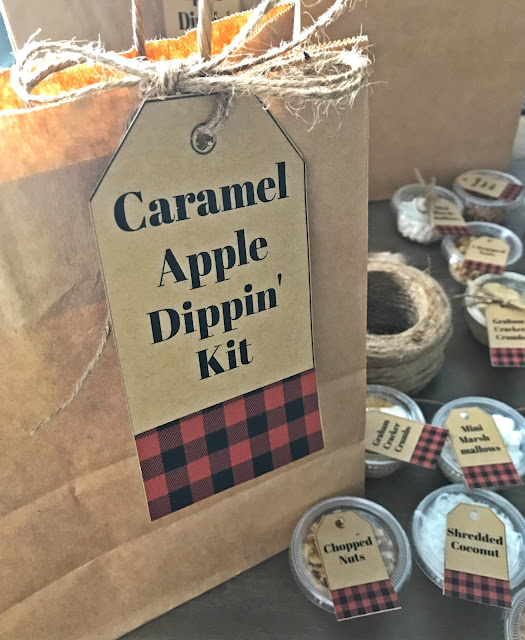
Caramel Apple Dipping Kit to give.


--New neighbors just moved in down the street, this Caramel Apple Dippin' Kit was perfect to place on their doorstep.  I added a 'Welcome to the Neighborhood' tag and gave them a contact list of their new neighbors.
Package up apples, caramel and toppings to give as gifts.

These kits don't have to be in a basket...why not package them up in a gift bag and hand deliver?

Caramel Apple Dipping Kit Easy How-To @michellepaigeblogs.com


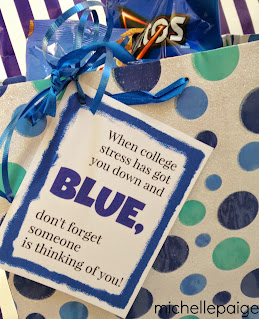
--We're dropping in on campus to visit a few college students next week and guess what I'm bringing them?  Yep, their own Apple Dippin' Kit.
--A friend of mine needed a 'pick-me-up' gift and this little kit was just the thing to take her mind off things.

--This could even work for a Christmas gift!

This is a perfect little gift for a neighbor, a teacher or a friend.  I'm a big fan of gifts that can be consumed and eaten.  No one needs junk lying around...especially teachers!

And I especially love 'handmade' gifts that are easy to create. 

Everything you need to make an Apple Dipping Kit.


Purchase supplies.
Assemble.
Print and tie on tags.
Package up and deliver.


Apple Dipping Kit tags


Here's what I used to make a family kit (for our new neighbors).
(Affiliate links included to help you locate products.)
Fresh apples
1 Caramel tub
-tape

-jute or twine
-condiment cups with lids
-red checked tissue paper or food liners
-brown cardstock

-printed tags (scroll down to print your own.)

Toppings:  (use whatever you like)
-mini chocolate chips
-mini mallow bits
-crushed graham crackers
-chopped nuts
-shredded coconut
-Heath Bar bits
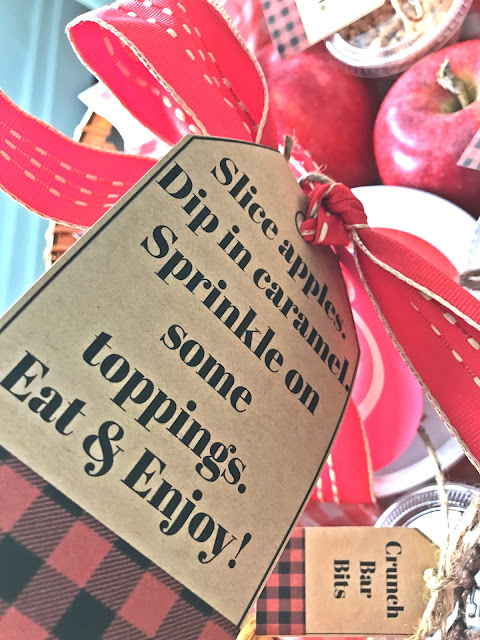
-Crunch Bar bits


Condiment containers filled with toppings.

The plastic condiment containers found in the grocery store work perfectly for the toppings.


Package up apples, caramel and toppings to give as gifts.

I small piece of tape holds the twine in place to tie on the tags.
Package up apples, caramel and toppings to give as gifts.

I printed my tags on brown kraft paper.  (Basically a light brown cardstock found in any craft store.  White cardstock will work as well.)


To print your own tags, click here.


Package up apples, caramel and toppings to give as gifts.

I made some individual Dippin' Kits as well. 
Package up apples, caramel and toppings to give as gifts.

Instead of using whole apples and a big caramel tub, I used apples slices and individual caramel tubs.  I also used just a few toppings.


Package up apples, caramel and toppings to give as gifts.


I packaged all the items up in a little berry basket found at Michaels.
Such a fun little gift to make and give.

To see our Apple Dessert Bar, click here.


Assemble an Apple Slice Dipping Bar!


Here's some more college care package ideas for you:

Stick With It!           
                   
Stick with it!  College finals care package ideas @michellepaigeblogs.com   

Orange Survival Study Sack                       
Orange foods and treats for gift package. 

Brighten Up Your Semester!
Yellow themed gift ideas @michellepaigeblogs.com


SMART Gift Bag                                     
Creative college care package ideas @michellepaigeblogs.com   

Caramel Apple Dippin' Kit
Package up apples, caramel and toppings to give as gifts.


SNAP To It!                                                            

Punny College Care Package


 photo arrow.png CONTINUE READING