twitter facebook instagram bloglovin google plus pinterest youtube

Friday


If you've followed my blog for while, you know that I love Valentine's Day.  There's just something fun and uplifting about giving letters and love greetings in the middle of winter when everything is so gray and gloomy around here. Giving someone a handmade card with a treat, toy or gift that tells them I'm thinking of them, brings ME so much joy.  Maybe it does the same for you?

This holiday gets a bad rap of being just for those 'in love' or for grade school children handing out valentine cards.  But what about those friends and family members we love so much?  Don't they get valentines too?


I've put together 26 days of valentine printables and ideas. Whether you're looking for an idea for your child's classroom, or to hand out to friends, neighbors or coworkers, I've got plenty of ideas for you. And of course there's ideas to hand out to your special 'loved one'. 


Today is our first day and we're starting with the letter 'A', of course.

A is for Apples.
I live in WA State--known for Boeing, Nordstrom, Starbucks, Amazon, Microsoft and apples...real apples. The elementary school I attended was located on an old apple orchard and many of our school units were on studying how apples grow, writing reports on apples, creating stories with apples, etc, etc.  My family and I have visited multiple apple orchards and we all eat at least one apple a day. (I'd like to insert here that we are always healthy because we eat apples--but that would be stretching it a bit.)
Everyone around here (our family included) is quite choosy about their apples. Walk into any of our local grocery stores and you'll find at least 6-12 different varieties of apples to choose from.  We all have our favorite variety.  The joke in the family is on my dad. You hand him an apple and he'll hand you back the stem and seeds! Crazy, I know.

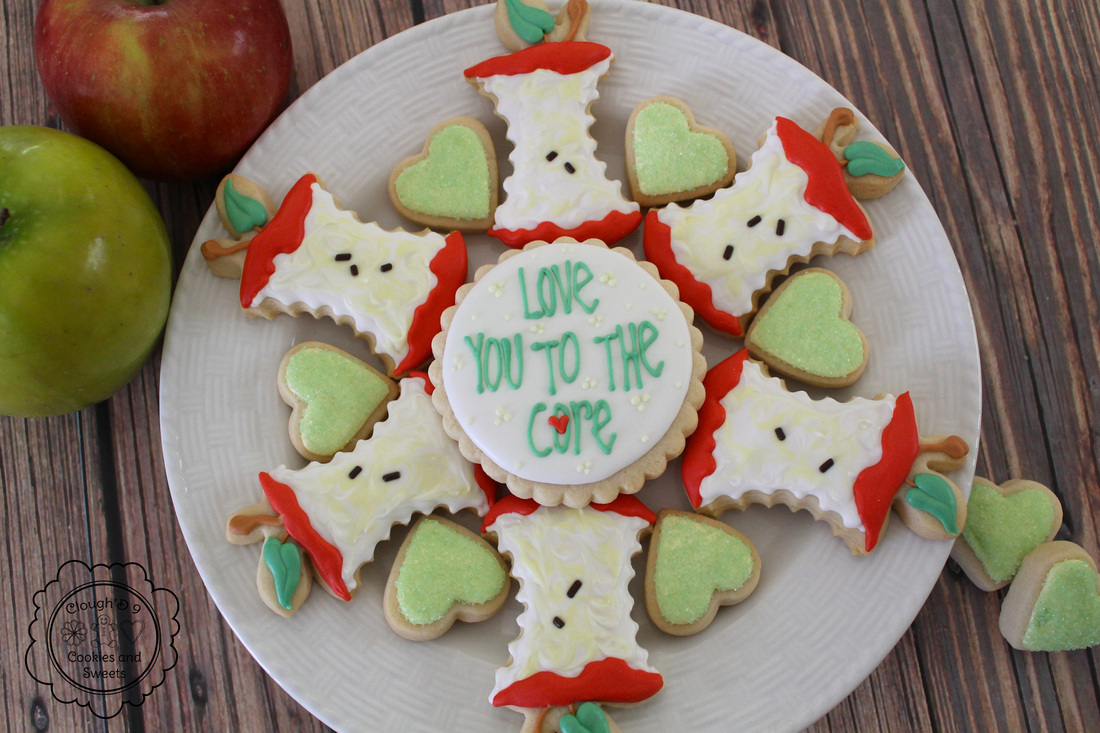
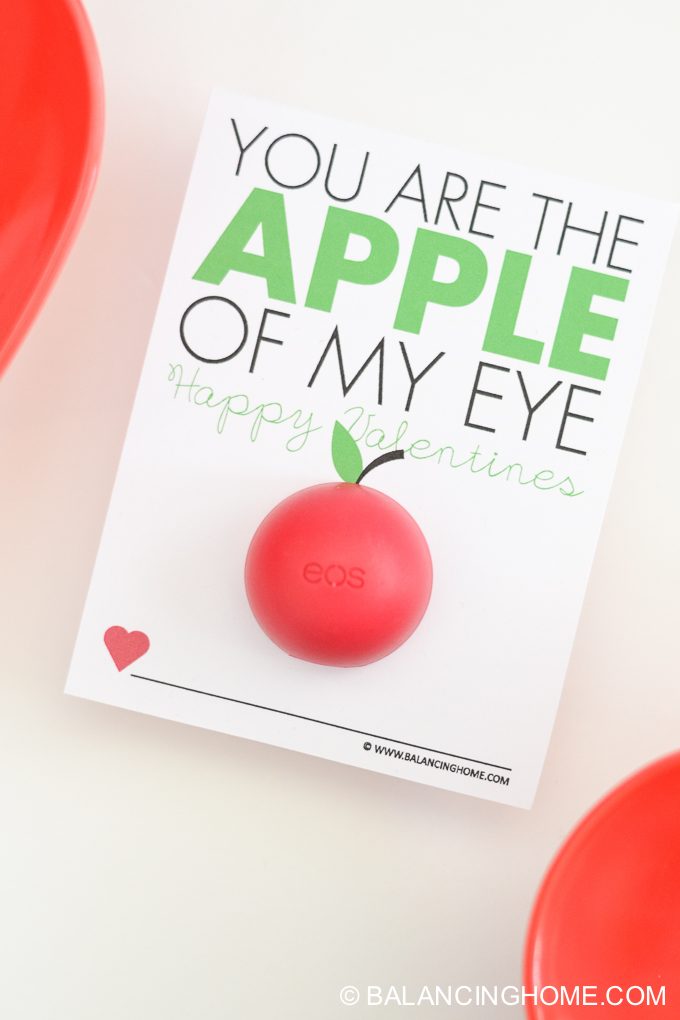
Now that I've established my apple credibility, here's an apple valentine for you.


These work perfectly with whole apples or even those apple slice packets.   (Yes, I'm fully aware those apple slice bags are not from WA State apples.  My own kids don't like them, but you've got to admit they're perfect for classroom valentines.)


Click here to print your own Awesome to the CORE Apple Valentines.  (These valentines are not to be edited.  Print on cardstock for best results.)

After cutting the tags and hole punching, tie with baker's twine around a real apple or onto apple slice packets.

...and I've 'gathered' up some more apple valentines for you.  Enjoy!


"Awesome Sauce" Valentines | Evermine Blog | www.evermine.com


Sweet Treat for #TreeTopMainSqueeze


Gift Idea - DIY Apple Jar and Free Printable at the36thavenue.com


Picture


Printable-Valentine-Non-Candy-EOS-50


And don't forget about my Apple Thank You Note Gift Basket to our friends.  A basket of apple treats full of apple puns.

Have an apple-so-lutely great day!  


If you've enjoyed this post, please follow me on Facebook and Instagram for even more fun.


Letter A
Letter B
Letter C
Letter D
Letter E
Letter F
Letter G
Letter H
Letter I


Letter J
Letter K
Letter L
Letter M
Letter N
Letter O
Letter P
Letter Q
Letter R


Letter S
Letter T
Letter U
Letter V
Letter W
Letter X
Letter Y
Letter Z 


Want even more ideas?  See my Valentine Vault of all valentines on michellepaigeblogs.


 photo arrow.png CONTINUE READING

Monday


My dad loves cookies.
I remember learning how to make cookies as a young girl and having my dad tell me just how delicious they were...and then he would take another and another and another.  I felt so accomplished and proud knowing that the cookies I made were good tasting.  As a teenager I remember my mother asking me to make cookies for my dad.  Nowadays, dad doesn't go too crazy eating cookies, but he still looks around for a cookie after every meal. When my parents come to stay with us, I make sure I bake cookies for my dad and then pack him up a few for their 5 hour car ride home.
For his birthday party this year I thought why not have a cookie party--and more specifically his favorite cookies-- a chocolate chip cookie party.  This turned out to be so much fun.  Take a look!


**Weeks before the party, I always start with mapping out a plan and shopping list.  I'm in the process of making my party planning sheets available to my email subscribers.  Having a plan truly helps organize your party without being overwhelmed and forgetting things at the last minute.  (Be on the lookout for this.)

This party needed a table setting for 12.  I pushed together two tables to make 1 large table that seats 3 around every side. (In case you're wondering, I own 2 of these tables.)
Kraft paper and striped wrapping paper lined the center of the table.
Blue plates and cups added color.  


I printed guests names, food labels and a few fun quotes on paper cookies.  Click here to print your own cookies. 

This post contains affiliate links to help you locate products.
I love using glass plates on top of paper colored plates.  Each guests' name was printed on a cookie placed underneath their glass plate.  After the meal, the glass plates are removed and the paper plate underneath is used for dessert.


This Cookie Monster bib was perfect for the toddler joining our festivities.
(My folks (bless them) are emergency foster parents, so we often have babies and toddlers joining us for our many celebrations.  It sure adds to the fun!)


In the center of the table was the glass cookie jar filled with individual packages of Chips Ahoy.  I also picked up this cute blue clothespin frame from the Dollar Store.

Glass mini flares with small metal spoons were perfect for the Cookie Crisp cereal.  Some guests added milk to their cereal, others ate the cereal like candy.


More Cookie Crisps cereal was displayed in a big bowl with a metal scoop.  Glass milk bottles held milk with straws and take a look at that chocolate chip ice cream cake!


I baked up 4 pizza pan sized chocolate chip cookie pizzas and trimmed off the edges for a clean cut. (I made my own cookie dough with real butter and dark chocolate chips...because that's really the only way to do it--just sayin'.)


I then used 3 half gallons of (softened) chocolate chip cookie dough ice cream for the layers and for the outside edges.
Melted dark chocolate was used to hand write 'Happy Birthday Grandpa' on the top of the cake. 


My family thought I was a bit deceptive by 'frosting' the outside of the cake with ice cream, making it look like solid ice cream. They wanted less cookie and more ice cream.  If I had to do it again I would probably only do 2 or 3 layers of cookie and more ice cream.  Nonetheless, it was still delicious and quite a showstopper!  The thing was HUGE!


We used the end of a sharp metal thermometer to dig holes in the frozen cake for the candles to stick in.


The only problem with an ice cream cake, is that you're very limited with the time you have to take pictures!  Don't melt on me!


For party favors I baked up some chocolate chip spoons.  The spoon pan came from here.  Although they turned out quite cute I thought they needed an added touch, so I dipped them in dark chocolate and bagged them up in cellophane bags tied with cording.


My dining room chalkboard read 'Happy Birthday' and the blue and brown 'GRANDPA' banner was reworked from this past party.


The cookie jar prop was made by my teenage son on styrofoam board.  It added some fun to the dessert table and was a great game for the kids...and adults.

We called the game 'Toss Your Cookies'.  We taped a shoebox to the back of the board and placed it on the stairs.  Each guest took turns tossing the cookies into the jar through the slit opening. Object: to get as many cookies as possible in the jar.  Of course my 'ultimate frisbee-loving kid' won this game.  To make the cookies we taped paper cookie cut outs to the top of plastic discs we found at the Dollar Store.


I also crafted (I'm using that term very loosely here) together a paper sack cookie pinata.  My family thought it looked like a potato.  (Can't win them all.)  I turned two paper sacks inside out to hide the lettering.  Stapled on 'chocolate chips and filled the bag with candy.  Packing tape sealed up the two bags and a hole was taped for strength.

We have the perfect tree for pinatas.  AH (Awesome Husband) draped the rope over a thick branch so he could move the pinata up and down.  This provided lots of fun (and frustration) but it actually allowed everyone a turn-- instead of the first person destroying the pinata.


And you know my parties have to have a photo booth!  For an instant backdrop (I was short on time) use Command hooks.  I love using fabric shower curtains, because they already have holes in them.  Just insert a metal book ring and hook them on the hooks.  If there are no holes in your fabric, use safety pins and book rings.
Taped up crepe paper and curling ribbon add color, but you could also use balloons, lanterns, paper fans, etc.  


Happy Birthday, Grandpa!  We love you!


Click here to see the ultimate A to Z list of parties I've created.

And here's a few more of Grandpa's parties:
Punny Football Party


Basketball Party


Plaid Party


Linking up to: BFFParty
 photo arrow.png CONTINUE READING

Wednesday


Black and White Dessert Party to Say Goodbye to a Friend.


It's a new year around here and everyone is thinking about being fit and losing weight, right?  Well, not me.  I started the year off sick and I only want to eat comfort food and take naps right now. Eating smooth, dark chocolate cuddled up in my electric blanket sounds perfect.  I think I'll hop on the fitness band wagon after Valentine's Day?  We'll see?


Since you now know what's on my mind, I thought I'd finally share this Black and White Dessert Party I hosted in the fall. We wanted to gather some girlfriends together to say goodbye to a special friend who was leaving our community.


(Affiliate links included to help you locate products.)
Black and white is always my favorite party theme and so easy to pull off.  A simple black runner on a white table sets the canvas.  I accented everything with silver accessories and glassware.  Black chalkboard chargers are an easy base to put glass dishes on top of.  I have quite a collection of iron tiers to raise the food display to a higher level and make things look fancy.  Remember, height is your friend when displaying food.


Chocolate Ganache Torte from Trader's Joe's was requested by our guest of honor.  It was delicious!  Always, always serve fresh fruit at a Dessert Party.  Some guests do not or can not eat the sugary treats and you never want them to feel left out.  Fresh whole strawberries, cups of watermelon cubes with blueberries and cut cantaloupe made sure everyone could snack.


I used these inexpensive chalkboard signs to help guests identify the drink selection and sticker labels for guests to mark their glass.


And yes, we had a photo booth!  A simple black sheet with crepe paper, curling ribbon and a few black and white paper fan wheels provided a festive backdrop.


The guests were given instructions to have their photo taken with my daughter's INSTAX camera, (perfect, instant party pictures) and then craft up a 'miss you' note card using their picture and lots of washi tape!


I laid out all the supplies they needed and look at the creativity!


Our guest of honor was given a photo clip frame to display the notes on each day and think of us. My teenage son decided he wanted in on the action and made one that says... "Don't worry, I'll probably survive."  


We ended our party with gifts and going around the room sharing favorite memories of our time together.  


To see a list of all the parties on my blog, click here.


Linking up to: CraftyCornerLinkParty, TatertotsandJello, 
 photo arrow.png CONTINUE READING